
Kodak Aerochrome II Infrared 2443
A Comprehensive Guide
Aerochrome: A Comprehensive Guide
Aerochrome is a legendary infrared color film that produces stunning false-color images, turning foliage into vibrant reds and pinks while rendering skies and water in deep blues. Originally developed for military and aerial reconnaissance, Aerochrome has found new life in artistic and experimental photography. This guide provides detailed information on Aerochrome's history, specifications, exposure recommendations, filter usage, processing techniques, and best practices for achieving the most striking results.
Film Overview & Specifications
Name: Kodak Aerochrome II 2443 Estar Base
Type: False-color infrared film
Base: Estar (polyester)
Format: 35mm
Sensitivity: Approximately 520-900nm (green to near-infrared spectrum)
ISO Rating: Nominally ISO 400; adjustments may be necessary based on exposure, and development process (continue reading below for more details)
Contrast: Lower contrast compared to earlier versions like 8443, allowing for better detail in shadow areas
Grain: Fine grain with excellent sharpness
Processing: Designed for E-6 reversal processing; can also be cross-processed in C-41 for negatives
Brief History of Aerochrome
Kodak developed Aerochrome during World War II for military applications, particularly for camouflage detection. The film’s infrared sensitivity allowed for distinguishing between natural foliage and artificial materials. Over the years, Aerochrome found applications in forestry, agriculture, and medical imaging. Notably, artists like Karl Ferris, Elliott Landy, and Richard Mosse utilized Aerochrome for its unique aesthetic qualities. The final iteration, Kodak Aerochrome III 1443, was discontinued in 2009.
Types of Aerochrome
Over its lifetime, Kodak produced multiple versions of Aerochrome with variations in film base, processing requirements, and spectral sensitivity:
Kodak EIR (Ektachrome Infrared): A 35mm film popular for artistic applications.
Kodak Aerochrome III 1443: The final iteration before discontinuation, widely used in scientific and surveillance applications.
Kodak Aerochrome II 2443: A rare Estar-based version known for its archival quality and enhanced infrared sensitivity. This version was an update designed for E-6 processing. This is the version we are selling.
Kodak 2427: A black-and-white infrared film developed for aerial photography and reconnaissance.
Exposing Aerochrome: ISO & Metering
Accurate exposure is crucial due to Aerochrome’s limited dynamic range. Setting your ISO correctly will also be determined by how you want to develop your roll. Either E-6 Processing or C-41 Processing Consider the following recommendations:
Although Aerochrome is rated at ISO 400, my tests suggest that this batch may have lost some sensitivity over time. To evaluate this, I conducted a six-shot exposure bracket test using a color chart at ISO 400, capturing normal exposure, +1 stop, +2 stops, -1 stop, and -2 stops. From these tests, I found that the +1 and +2 stop exposures looked best, indicating that the film has likely lost around ½ to 1 stop of sensitivity. However, given how infrared film reacts to light differently than standard stocks, gauging sensitivity loss isn’t always straightforward.
One of the most significant findings from my tests was related to TTL metering recommendations from online guides. Most Aerochrome guides state that ISO 400 already assumes the use of a Yellow #12 filter, meaning that no additional compensation should be needed. Which is correct, in some ways but this can be confusing! The ISO 400 does already account for a Yellow filter. However, when metering through the lens with TTL metering and a filter attached, the results on my first test rolls appeared underexposed. This makes sense because the meter is seeing reduced light through the filter and compensating, So I was effectively underexposing the film stock. When I first read this my knowledge told me to question this, but since it was my first rodeo with Aerocrhome I tried it out and although the results weren’t horrible It was definitely underexpose.
To correct this, I found when using my in camera meter I just need to adjust my ISO setting to compensate for the filters light loss, which did the trick! With the Yellow #12 or #15 for example Setting my ISO at 200 (E-6) or ISO 160 (C-41) produced much better results. Now some images still looked good when I rated at ISO 400 (E6) or ISO (C-41) some of this I think depended on the lighting in my environment I was shooting at the time. The most consistent and balanced results came from lowering the ISO to compensate for how the TTL meter was reading the scene as well as the loss of sensitivity. This is just a recommendation based on my findings and experience, but I’d encourage others to test their own setups and see what works best.
Below I have done the dirty work for you and listed the Filters, Light Loss (Filter Factor) and Recommended ISO
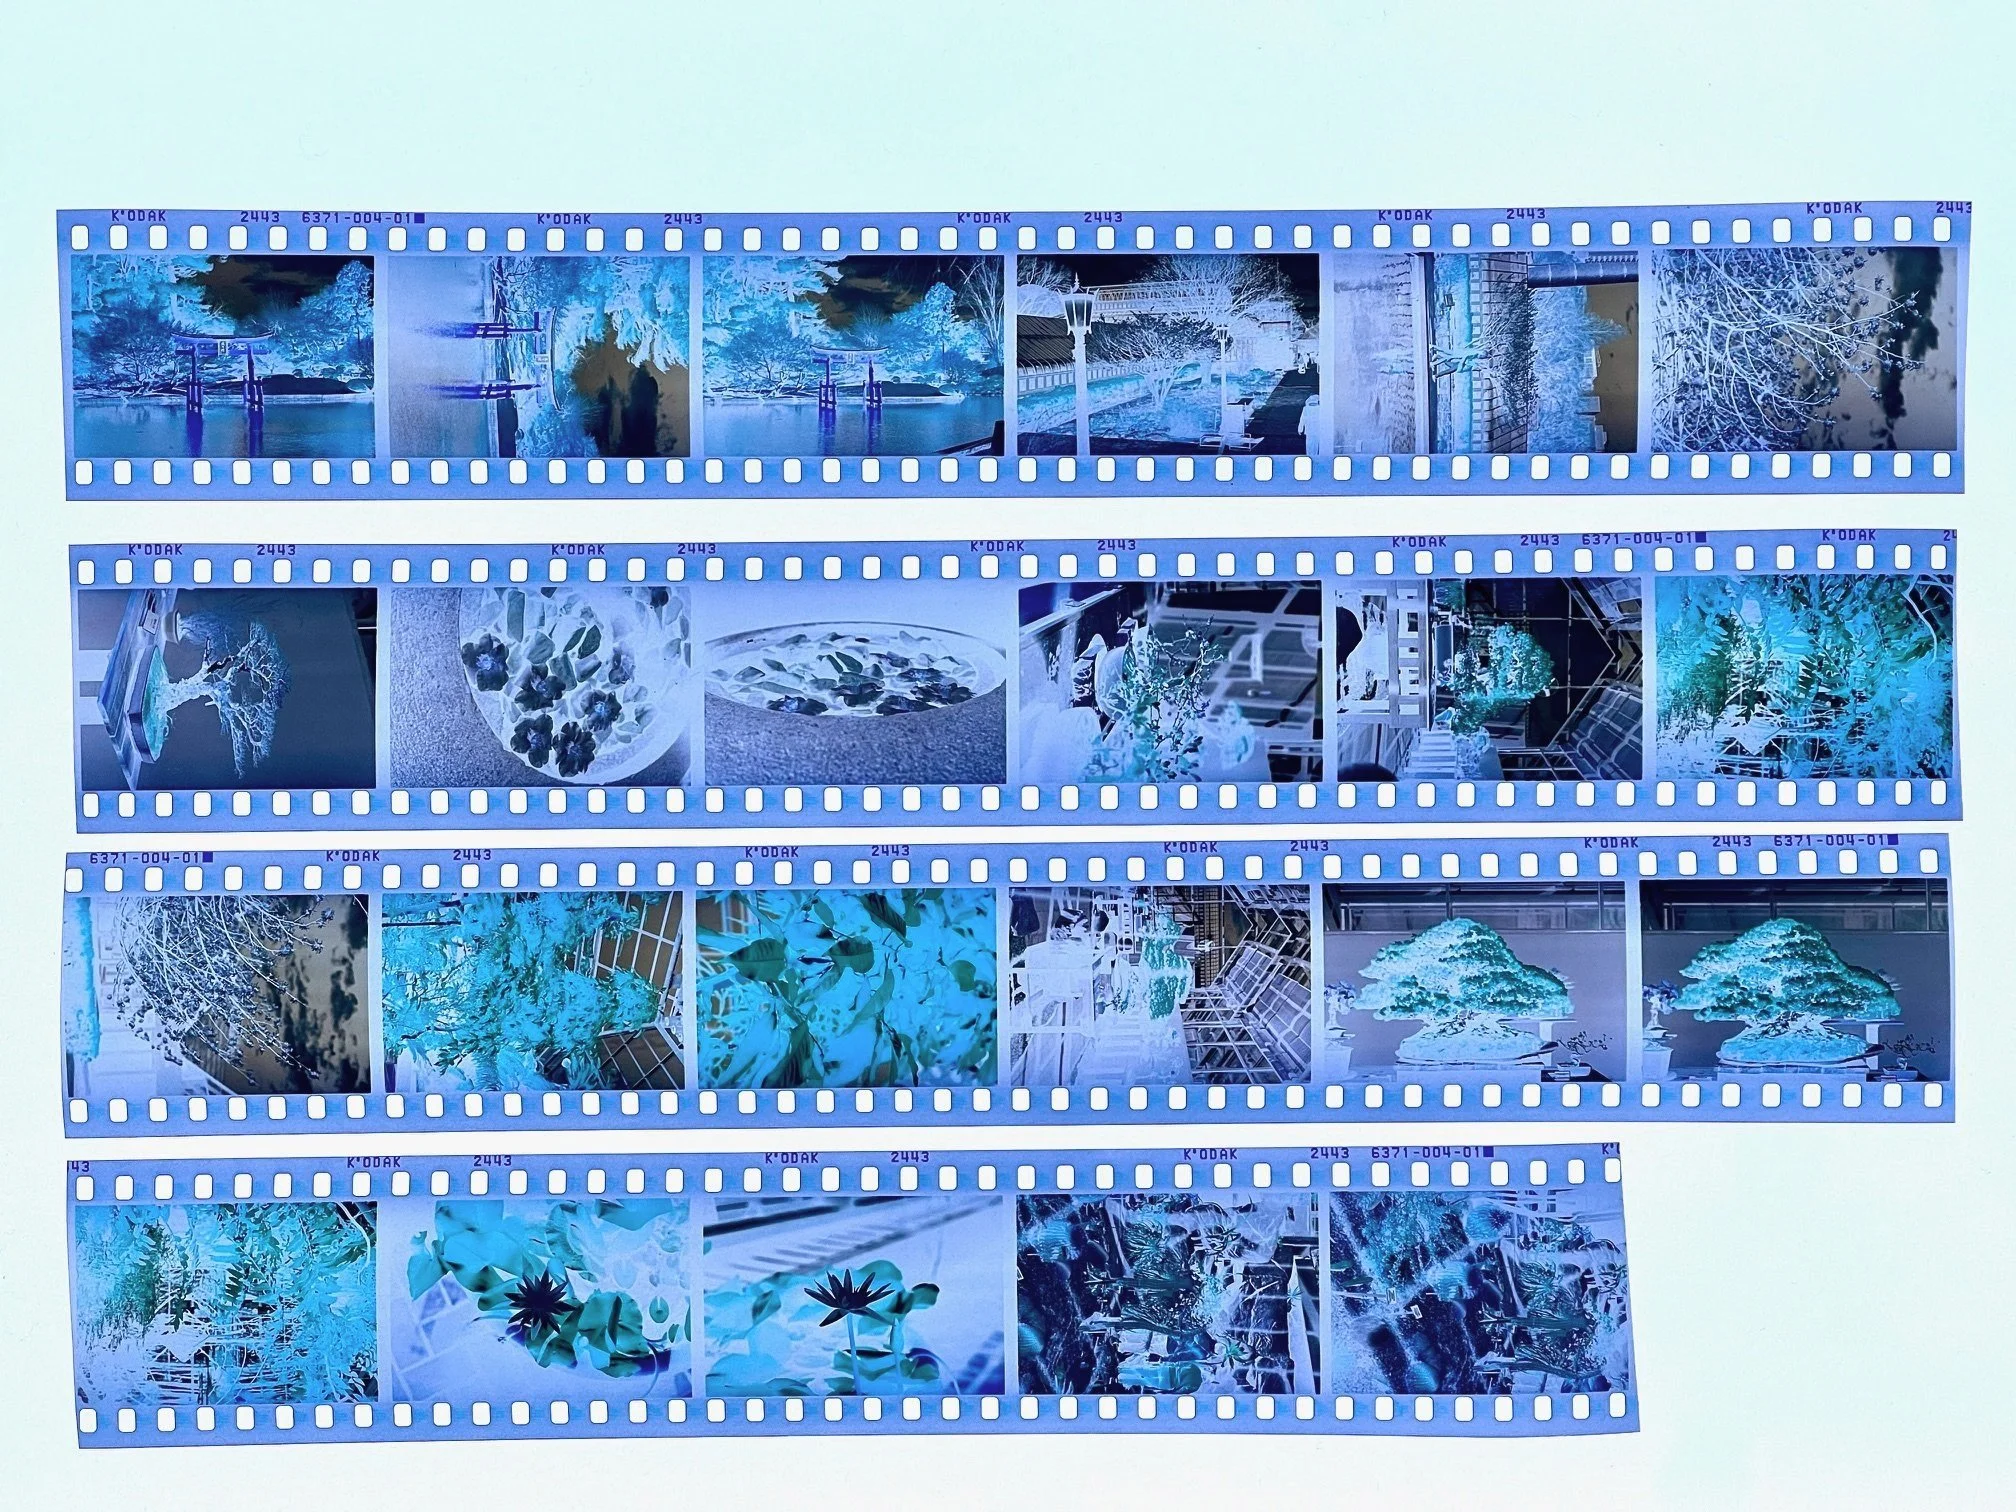
See our test images below for reference.
ISO Settings
E-6 Processing: ISO 400
C-41 Processing: ISO 320
READ BELOW FOR MORE DETAILS BASED ON YOUR CAMERA, FILTER CHOICE, & HOW YOU WILL METER
Filter Compensation ( TTL Metering)
Yellow #12: Light loss: 1 stop / Recommended ISO (TTL Metering): ISO 200
Yellow #15: Light loss: 1.3 stops / Recommended ISO (TTL Metering): ISO 160
Orange #16: Light loss: 1 2/3 stops / Recommended ISO (TTL Metering): ISO 125-160
Note: Light loss varies slightly between filter brands. We used Tiffen filters, Users should check their brand of filters light loss although in theory they should be the same.
metering techniques
To meter a scene with Aerochrome, it's best to use spot metering and take a reading from the brightest green foliage in your composition. Adjust your exposure so that these leaves are placed at neutral gray (0 EV) on your meter, ensuring that they render properly in the infrared spectrum without washing out or turning too dark.
If your camera doesn’t have spot metering, center-weighted metering is the next best option. Many TTL meters in film cameras are center-weighted, meaning they prioritize the exposure reading from the central portion of the frame while still factoring in surrounding areas. When using center-weighted metering, be mindful of elements like the sky or deep shadows, as they can skew the exposure. If the scene has a lot of bright sky, tilt your camera slightly downward to exclude it while metering, then lock the exposure before recomposing your shot.
For best results, consider bracketing by taking one shot at the metered setting, one slightly overexposed (+1 stop), and one slightly underexposed (-1 stop) or you can meter the brightest portion and the darkest portion and pick an apeture or shutter speed in the middle to balance your exposure and not waste frames from bracketing.
TTL (Through-the-Lens) Metering
If your camera meters through the filter, lower ISO to compensate for the light loss of the filter and prevent underexposure:
Yellow #12: Set ISO 200 for (E-6) ISO 160 for (C-41)
Yellow #15: Set ISO 160 for (E-6) ISO 125 for (C-41)
Orange #16: Set ISO 125 for (E-6) ISO 100 for (C-41)
If you have a camera that does is not TTL and does not meter through the filter then follow the Standard ISO 400 (E-6) ISO 320 (C-41)
Handheld Metering
Metering Through the Filter: lower ISO to compensate for the light loss of the filter and prevent underexposure:
Yellow #12: Set ISO 200 for (E-6) ISO 160 for (C-41)
Yellow #15: Set ISO 160 for (E-6) ISO 125 for (C-41)
Orange #16: Set ISO 125 for (E-6) ISO 100 for (C-41)
Lighting Considerations
Avoid backlit scenes to prevent contrast issues.
Best results in full sunlight to enhance infrared reflection. although you can shoot in overcast depending on your scene and what you are shooting

Filter Yellow #15 Developed in C-41

Filter Yellow #15 Developed in C-41

Filter Yellow #15 Developed in C-41

Filter Yellow #15 Developed in C-41

Filter Yellow #15 Developed in C-41

Filter Yellow #15 Developed in C-41

Filter Yellow #15 Developed in C-41
Processing & Development
Aerochrome can be processed using different methods, each yielding distinct results:
E-6 Processing: Produces positive slides with the characteristic false-color infrared look.
Development Time: Standard E-6 times apply
C-41 Processing: Yields negatives with increased dynamic range and flexibility in color interpretation during scanning and inversion. We recommend developing C-41 at home. If you plan to take your Aerochrome to a Lab for C-41 development, call first! most C-41 processing machines have Infrared LEDs to count the frames and will fog and damage your film. Call the Lab to make sure they can handle this special film stock properly.
Development Time: Standard C-41 temps and times apply
Handling: The emulsion is delicate; handle with care during processing to avoid damage.
Storage & Handling
Proper storage is vital to maintain Aerochrome’s quality if you dont plan to shoot it right away:
Long-Term Storage: Store film in a freezer to slow down degradation.
Before Use: Allow the film to gradually reach room temperature before opening to prevent condensation.
Handling: Load and unload the film in subdued light to minimize the risk of fogging/Light Piping.
Important Notes for Shooting:
Use at least a Yellow #12 or Yellow #15 Filter to achieve proper infrared results.
Use a camera that does not auto-advance film. Many auto-load cameras use a small LED lights to count frames, which can cause fogging. Recommended cameras:
Canon AE-1, Pentax K1000, Nikon F series, Olympus Trip 35, etc.
Shoot in broad sunlight for best result. Infrared film needs IR light—this is just a guideline experiment and have fun you can shoot in overcast depending on conditions, .
Film is hand-rolled (24 exposures max). Do not attempt to shoot beyond 24 frames.
Ensure proper labeling when sending to a lab for processing. Mark film as COLOR INFRARED - E-6.
Results will vary wildly. Due to the expired nature of Aerochrome, results are unpredictable and not guaranteed. We do not accept returns or provide support regarding results on expired IR film.

Example of Light Piping on the negative.

Light Piping example, notices the fogging on the edges.

Light Piping example, notices the fogging on the edges.
Recommended Processing Lab
We highly recommend TheDarkroom.com or Nice Film Lab for E6 processing. They understand infrared film and do not charge extra fees for this special film.
Additional Resources
By adhering to these guidelines and understanding the unique characteristics of Aerochrome, photographers can achieve striking and surreal images that showcase the film’s distinctive aesthetic. With limited stock available, this film is a true collector’s item—use it wisely and enjoy its stunning, surreal beauty.
For further questions, don’t hesitate to contact us at info@tccfilm.com.