Film Lives Forever
Kodachrome in 2024Behind the Scenes of our Test: Nizo S56 Timelapse Kodachrome
April 23, 2024
Written by: Jerry J White III
As I journey deeper in to my film practice, I am eager to experiment with the past. As film experiences a resurgence in popularity, so do the prices. Super 8 film is now around $100 a roll for stock, processing and scanning, creating a barrier to entry for some people. What if you could still play with motion picture film for a fraction of the price?
Starting out
One of my favorite things about celluloid is how it allows for so much manipulation at each step. While I have shot motion picture film multiple times in the past, I wanted to learn how to develop it on my own.
My first attempt at this process was using Kodak 5266 B&W film. As a reference, each roll is roughly $45 for about 3 minutes of footage. I used my Lomo tank and hung dry the film in the darkroom. This worked effectively except for the film that got stuck together, which happens from time to time.
When talking about the cost with others, I realized just how high this is for the average user which led me to start researching what a budget-conscious version would be. In the depths of the web, I stumbled across Kodachchrome 40 from the 60’s and 70’s. Originally used as a color positive transparency film I quickly learned that the base of the film is the same as standard B&W and therefore able to be developed in standard black-and-white chemistry. With this new knowledge, I decided to test out Kodachrome K40.
I started searching and found multiple rolls of K40 on the web from $10-$20 per roll, which is drastically less and makes these experiments more exciting. The film you are seeing below is from 1978 and was sealed in the package. I was not sure how it was stored so I didn’t know what was going to happen. With that in mind, I made a list of small tests that I will share below.
Before beginning I do want to let you know what was used for this specific test.
Kodachrome K40 film from 1978
Sealed in the package
Paterson tank for developing
I wanted to test the stuffing method instead of the Lomo tank. Lomo tanks are very expensive and hard to find, so I wanted to see what was possible in the same tank I would normally use for still film
HC-110 Developer
For this test I used standard B&W chemicals readily available at your darkroom or photo supply store. I developed for 20 minutes which was roughly a 3-stop push in development. Agitate as you normally do for standard film development.
No rem jet removal
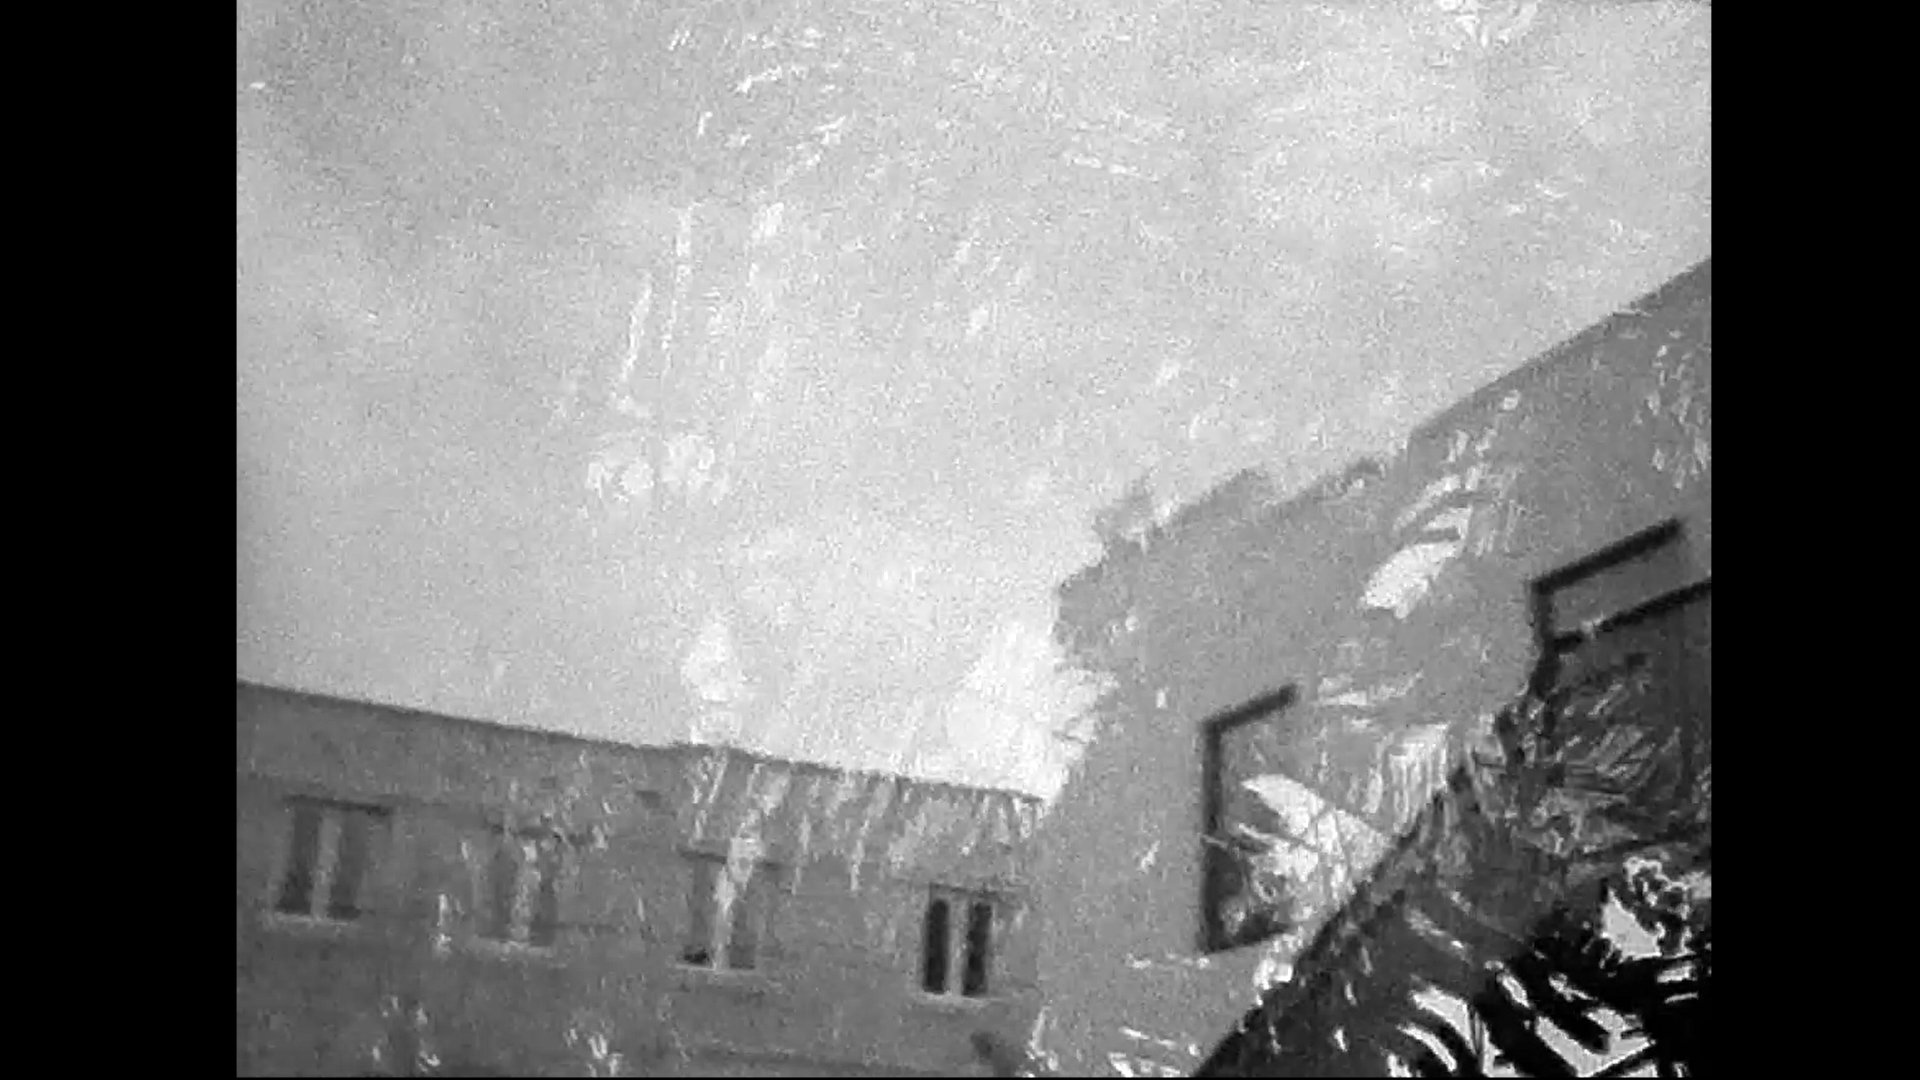
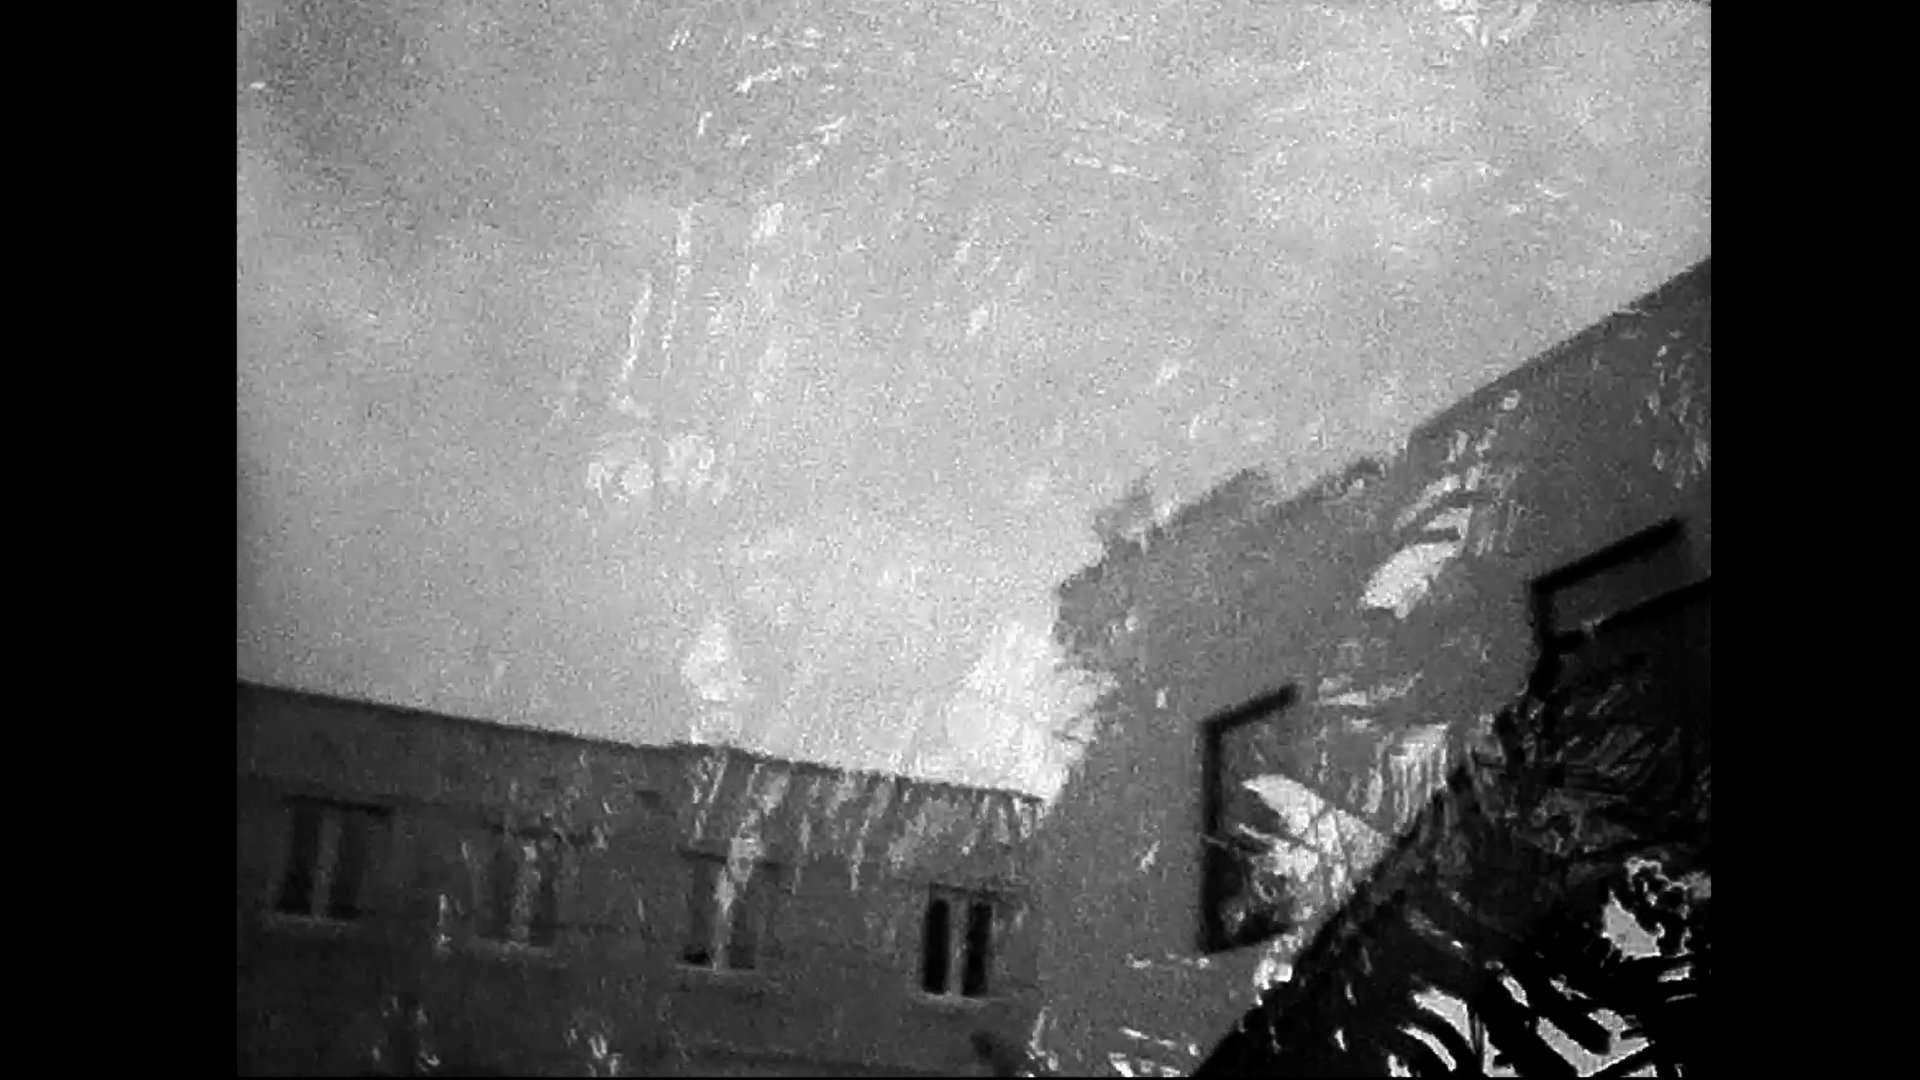
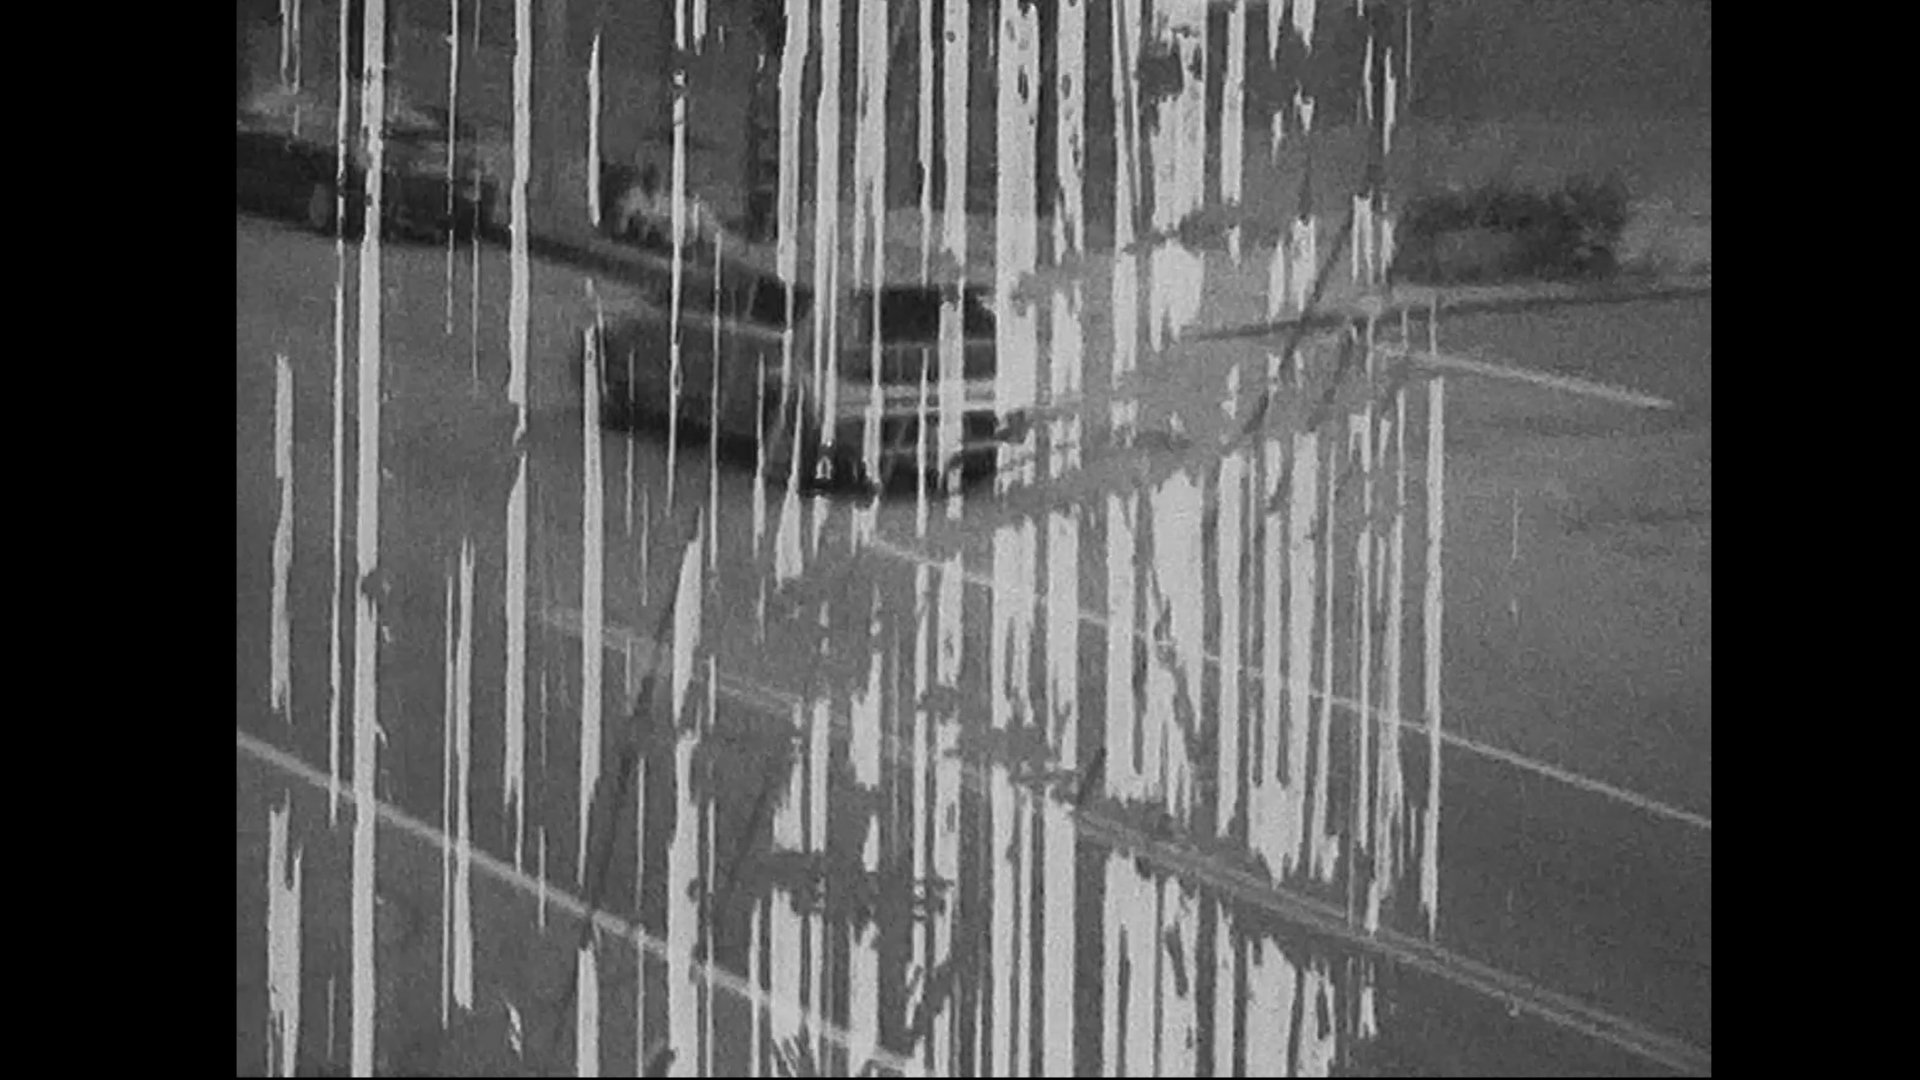
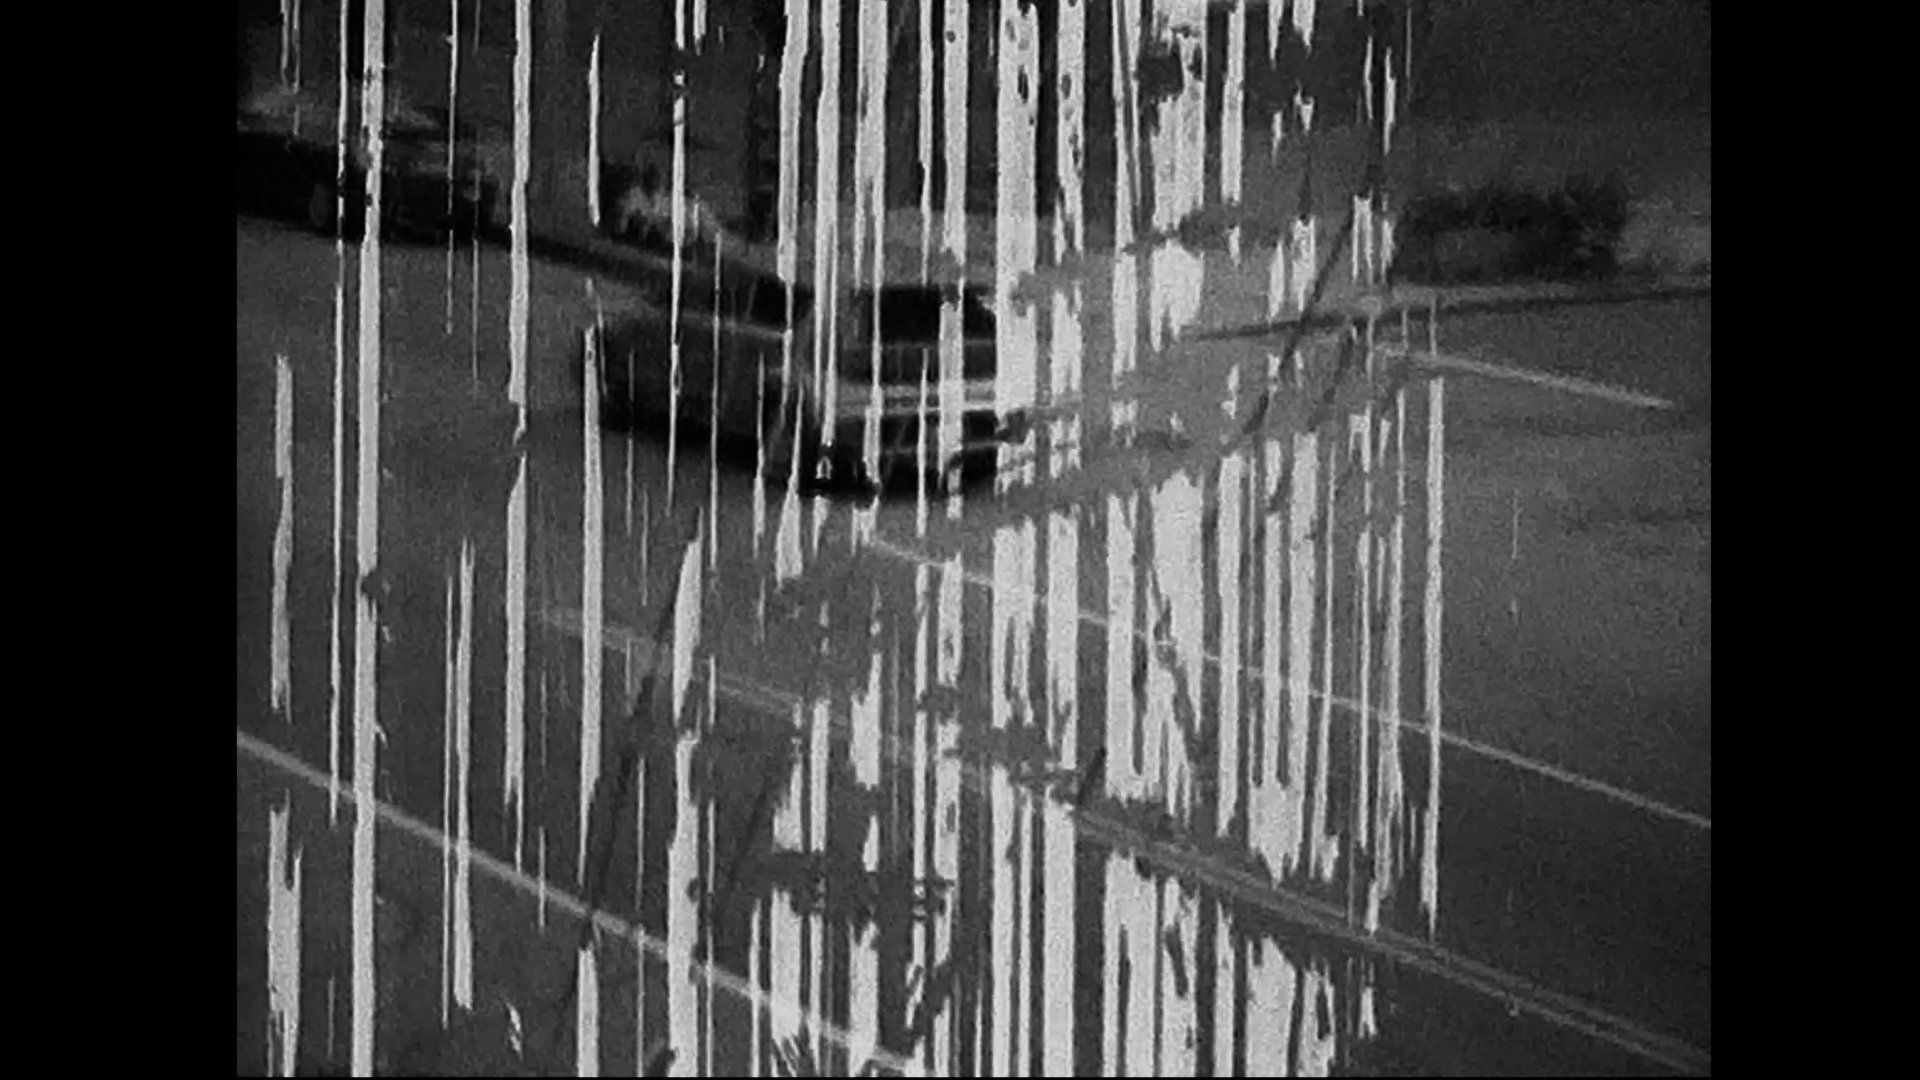
I forgot the necessary supplies for a proper remjet removal so I just used my fingers in running water to get rid of as much as possible. The streaks you see in the final product are residual remjet that was left on the negative. Although I like how it looks at times, I will make sure to do a remjet removal step for a cleaner negative.
Test #1 Timelapse
I started with a small Timelapse, something that was a major selling point of my Nizo S56 when it came out. I let the camera go from around noon to a little after sunset to see what darkness looked like. Keep in mind this film was ISO 25 around 50 years ago, so you will need to take this into account when shooting your own.
For this test, I shot at box speed and pushed 3 stops in the developing process. I was fairly happy with these results but I may want to overexpose next time with the possibility of lowering the development time which was around 20 minutes for this roll.
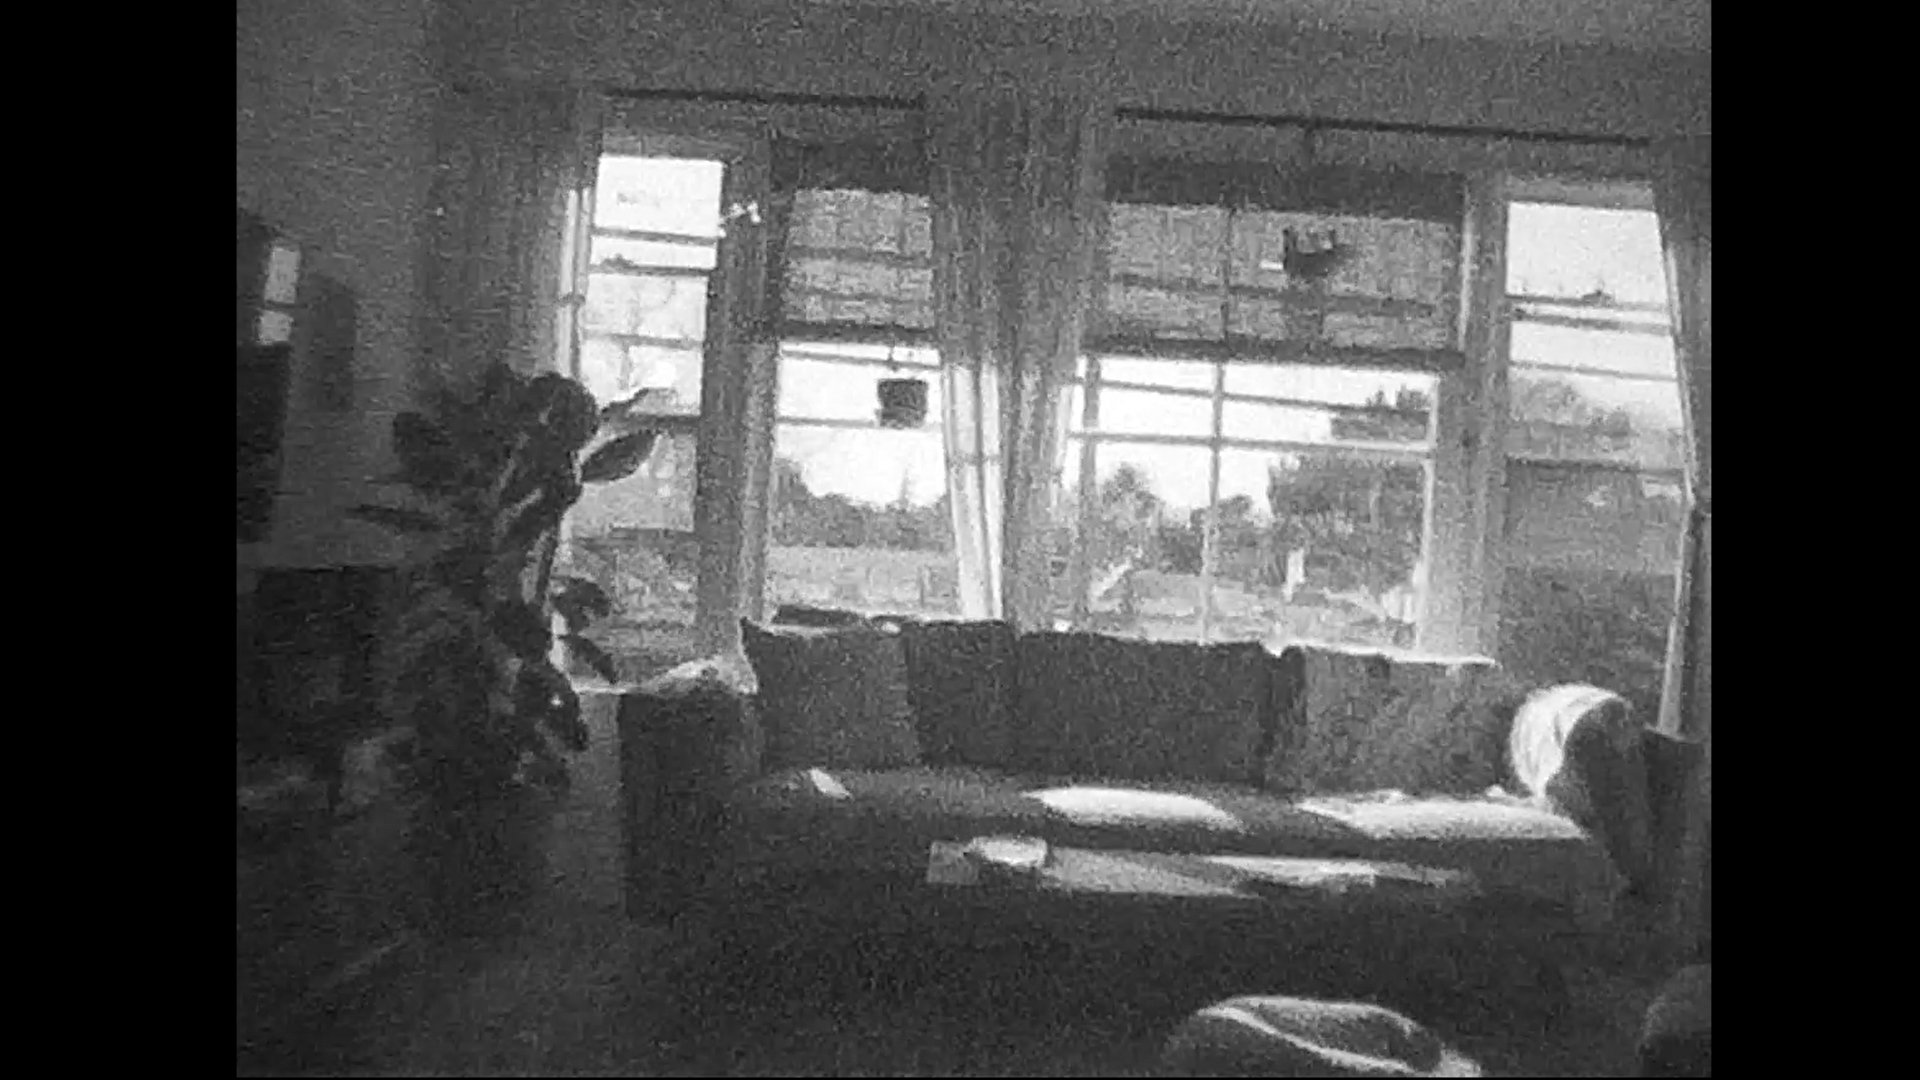
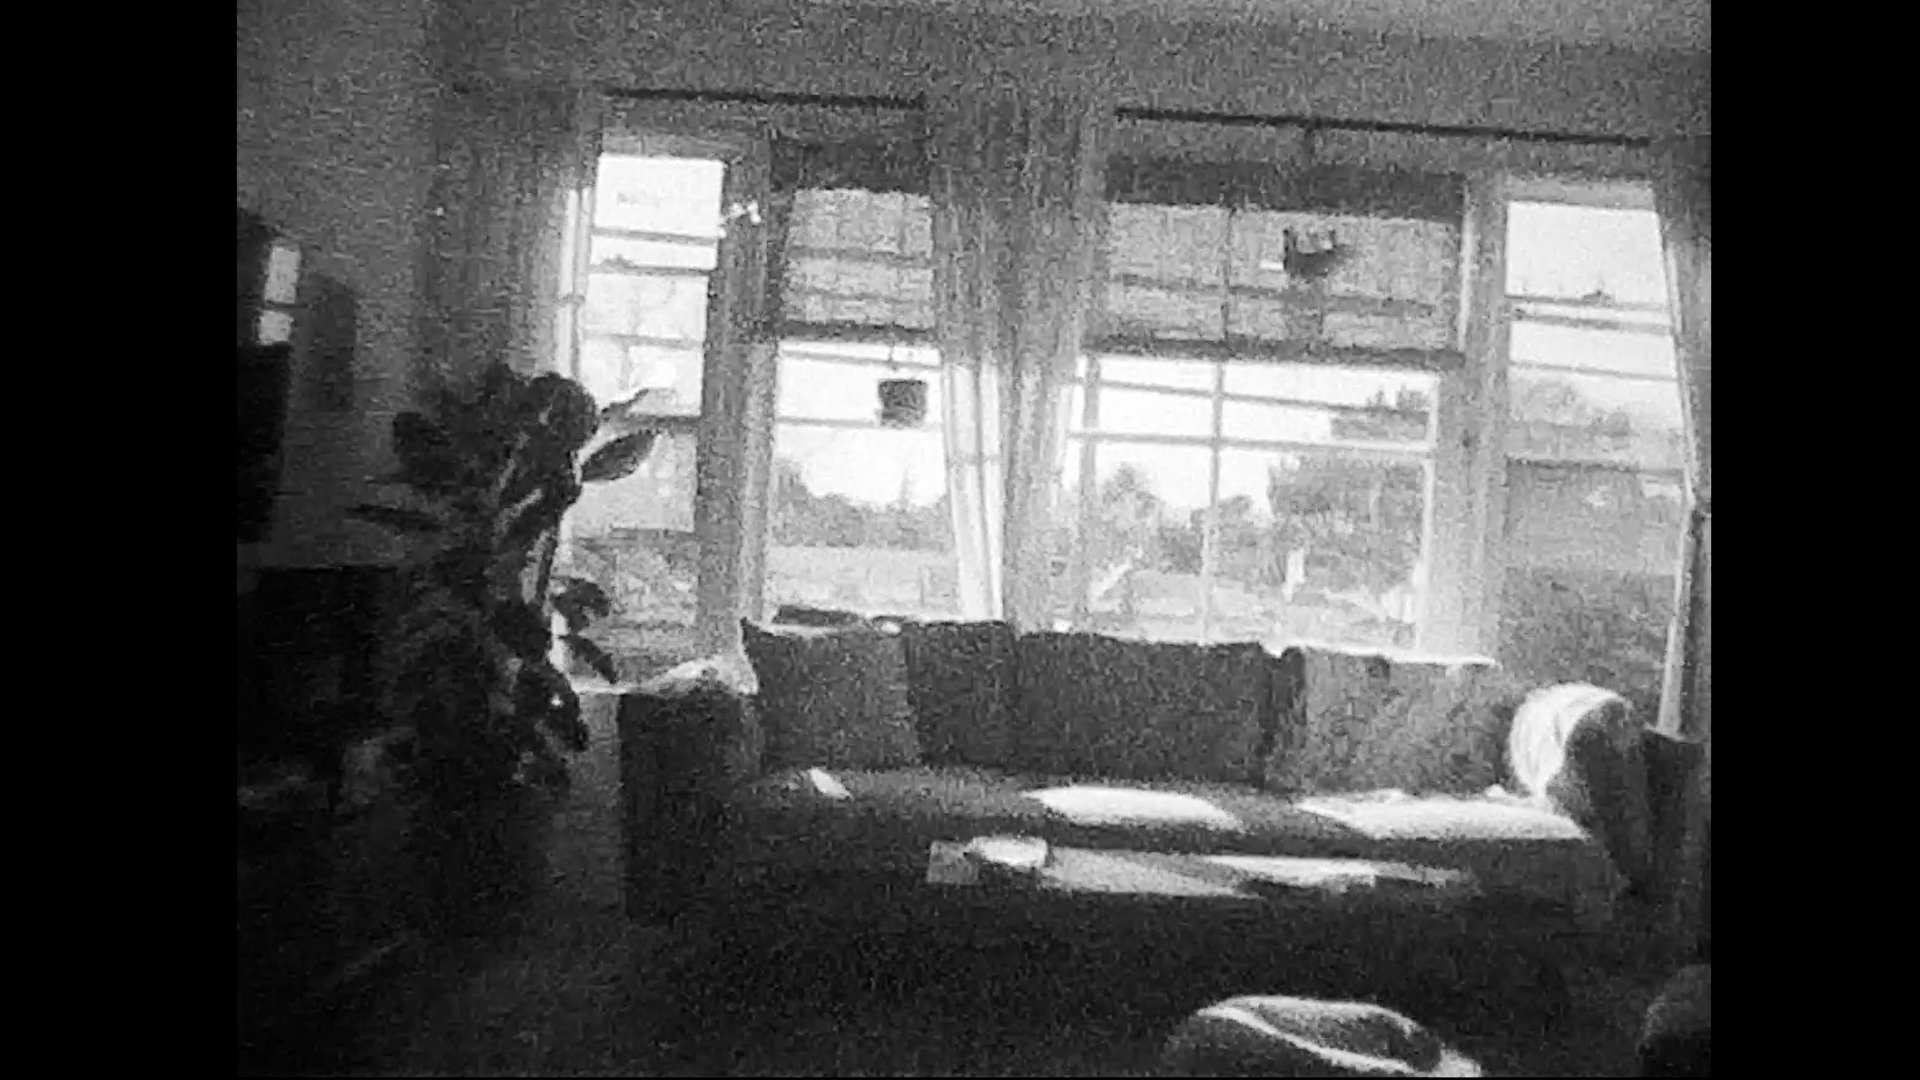

I was very happy to see how much dynamic range was still available. I pulled the frame grabs into Lightroom to push and pull one stop and see what I could keep. Everything stayed in range and I was very excited to see how the shadows were still present when I underexposed the negative. Not too bad for the low low price of $5 plus shipping (I found a good deal on this roll)!
Test #2 HIghlights
Let’s be honest, the film was almost 50 years old, and even with it being in the original packaging, I didn’t expect to get anything usable. I wanted to make sure I overexposed and underexposed the negative, exhausting all possibilities. Will it yield any images, I didn’t know. At one point I filmed in complete darkness with a flashlight pointed at the lens. This was a fail-safe in case no amount of light worked, which wasn’t the case.

Developing
As with most expired films, I just had to guess on times. Due to the information I had I decided on a 3-stop push. I wasn’t worried about increased grain or contrast, assuming that would happen either way due to its age. For this test, I headed over to 818 Community Darkroom and used HC-110 developer at 1:32 developing for almost 20 minutes with standard agitation intervals. I decided my stop bath and fix times could be triple time as well. In my experience, a long wash time will help to remove your chemicals. I would suggest washing for a lot longer than you normally do as the film has been in chemical for close to 40 minutes by the time you are all said and done.
This stock does have a remjet, so keep that in mind. I forgot to bring some rem jet removal so I just used my fingers as a squeegee to wash away as much as possible. This approach will not remove everything but It will get you close enough, especially when the test is just to see if the film will develop. In the future, I will do a proper remjet removal as that was not the best it could be.

Our Feature Presentation
1978 Kodachrome k40 and developed and scanned as B&W.
Conclusion
While this approach isn’t for everyone, I had a lot of fun on this one. Not worrying about the final product allowed me the freedom to experiment. If it worked I’d have something that I’d never seen before. If it didn’t, I was only out 5 dollars, and a little bit of time. I also got to share this with the community so it was a win-win for me. So far I have bought 5 more rolls of K40 and since Super 8 isn’t the highest quality to begin with, why not try out expired film and see what works for your practice?
As always, I hope this inspires you to try something new and also breathe life into some film stock that has been forgotten. There’s more film out there begging to capture your memories. If it works for you then who cares what other people think?
-Jerry-
