Back it Up!
Tokyo 2019 © Jerry J White III
Camera: Yashica Samurai x3.0 Half Frame
Film: Fuji Susperia 200
Welcome to the community and our first blog post for The Celluloid Collective! When Kenny approached me a few years back about starting this collective, I was completely on board. We had been discussing the future of our art form for years and thought why not share our knowledge, and learn from others. We are grateful that you are here and hope that you find something to inspire yourself or someone you know. Whatever you do, don’t keep all your knowledge captive, share it with the world.
Back It up!
When thinking about what to write about first I instantly went to something I have been trying to master for quite some time, scanning negatives. I have been exclusively a flatbed scanner for the past five years, never happy with the final results. Be it the speed, the dust, or the workflow, I was never completely happy with my digital backups.
I am currently preparing a new show and I knew I wanted to back up all of my negatives to make digital contact sheets that can be used to organize my story. While I plan to print the black and white images in a darkroom, I figured these digitals could help me save some photographic paper. This approach forced me to do some research and that’s when I stumbled on Negative Lab Pro and the Sprocket and Co. camera scanning setup. With these things combined, I actually enjoyed the process of scanning my negatives.
Before we go any further, you should know that we paid for all of these products out of pocket using our own money.
Camera scanning vs. flatbed
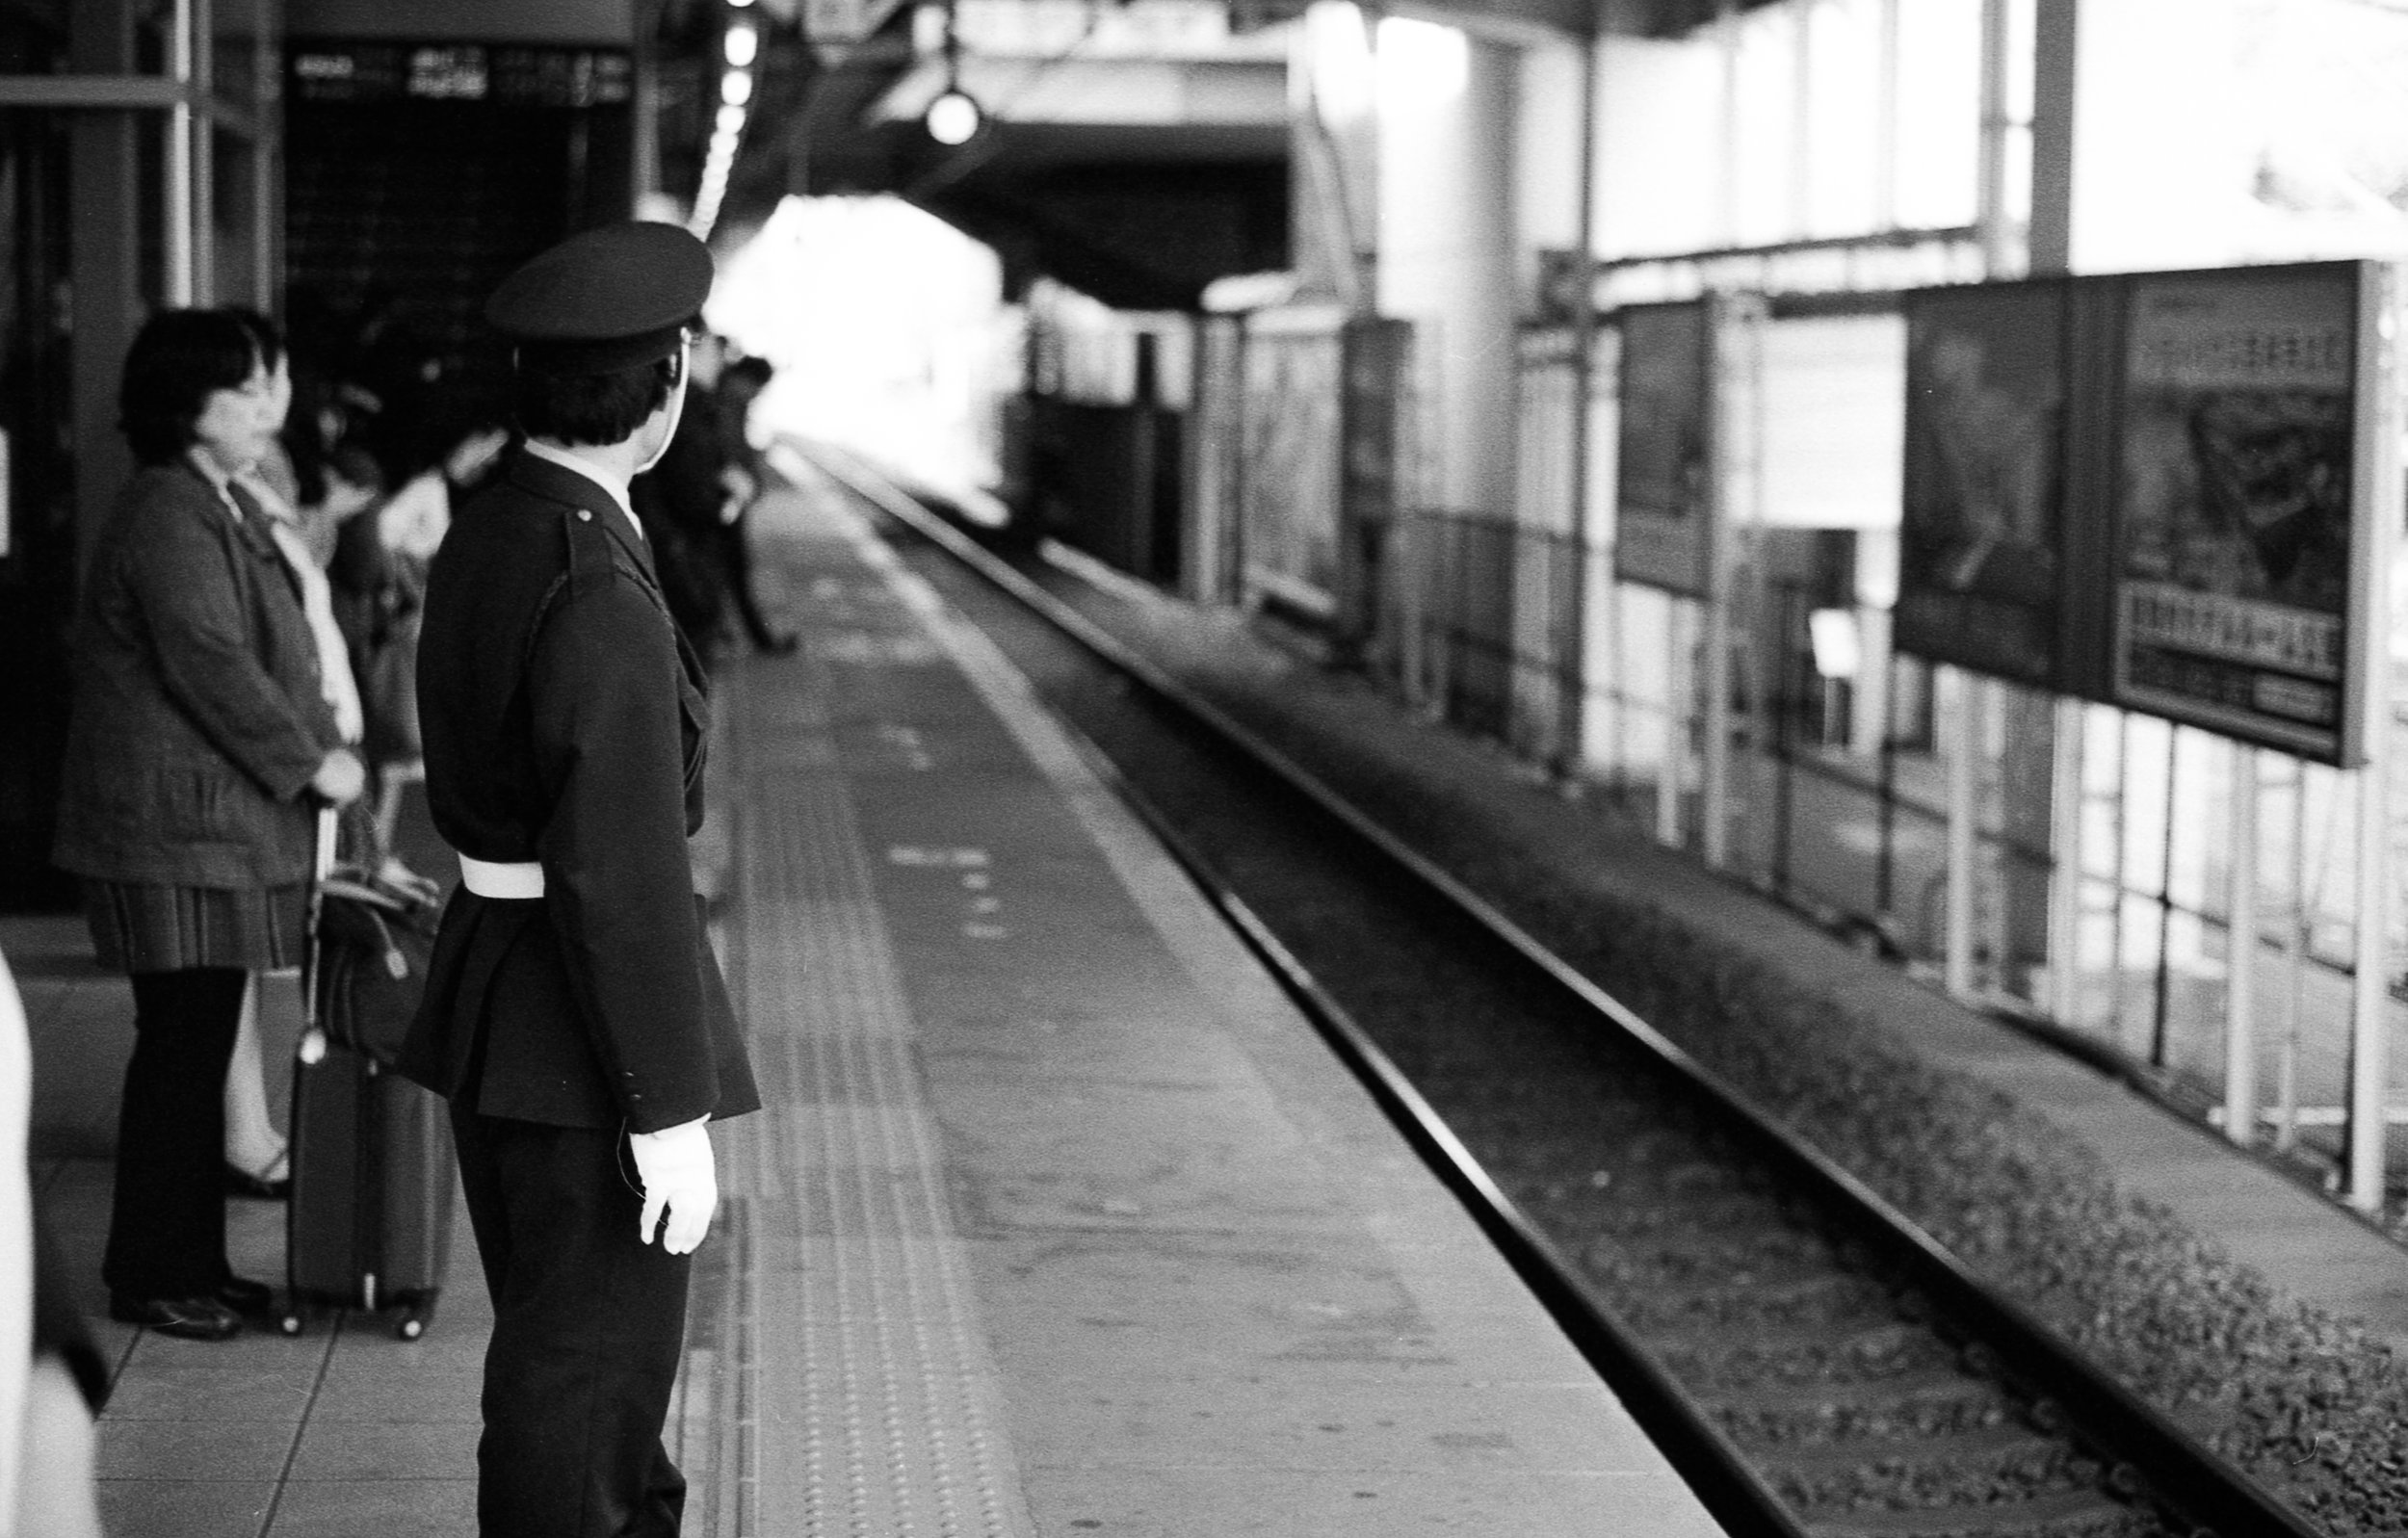
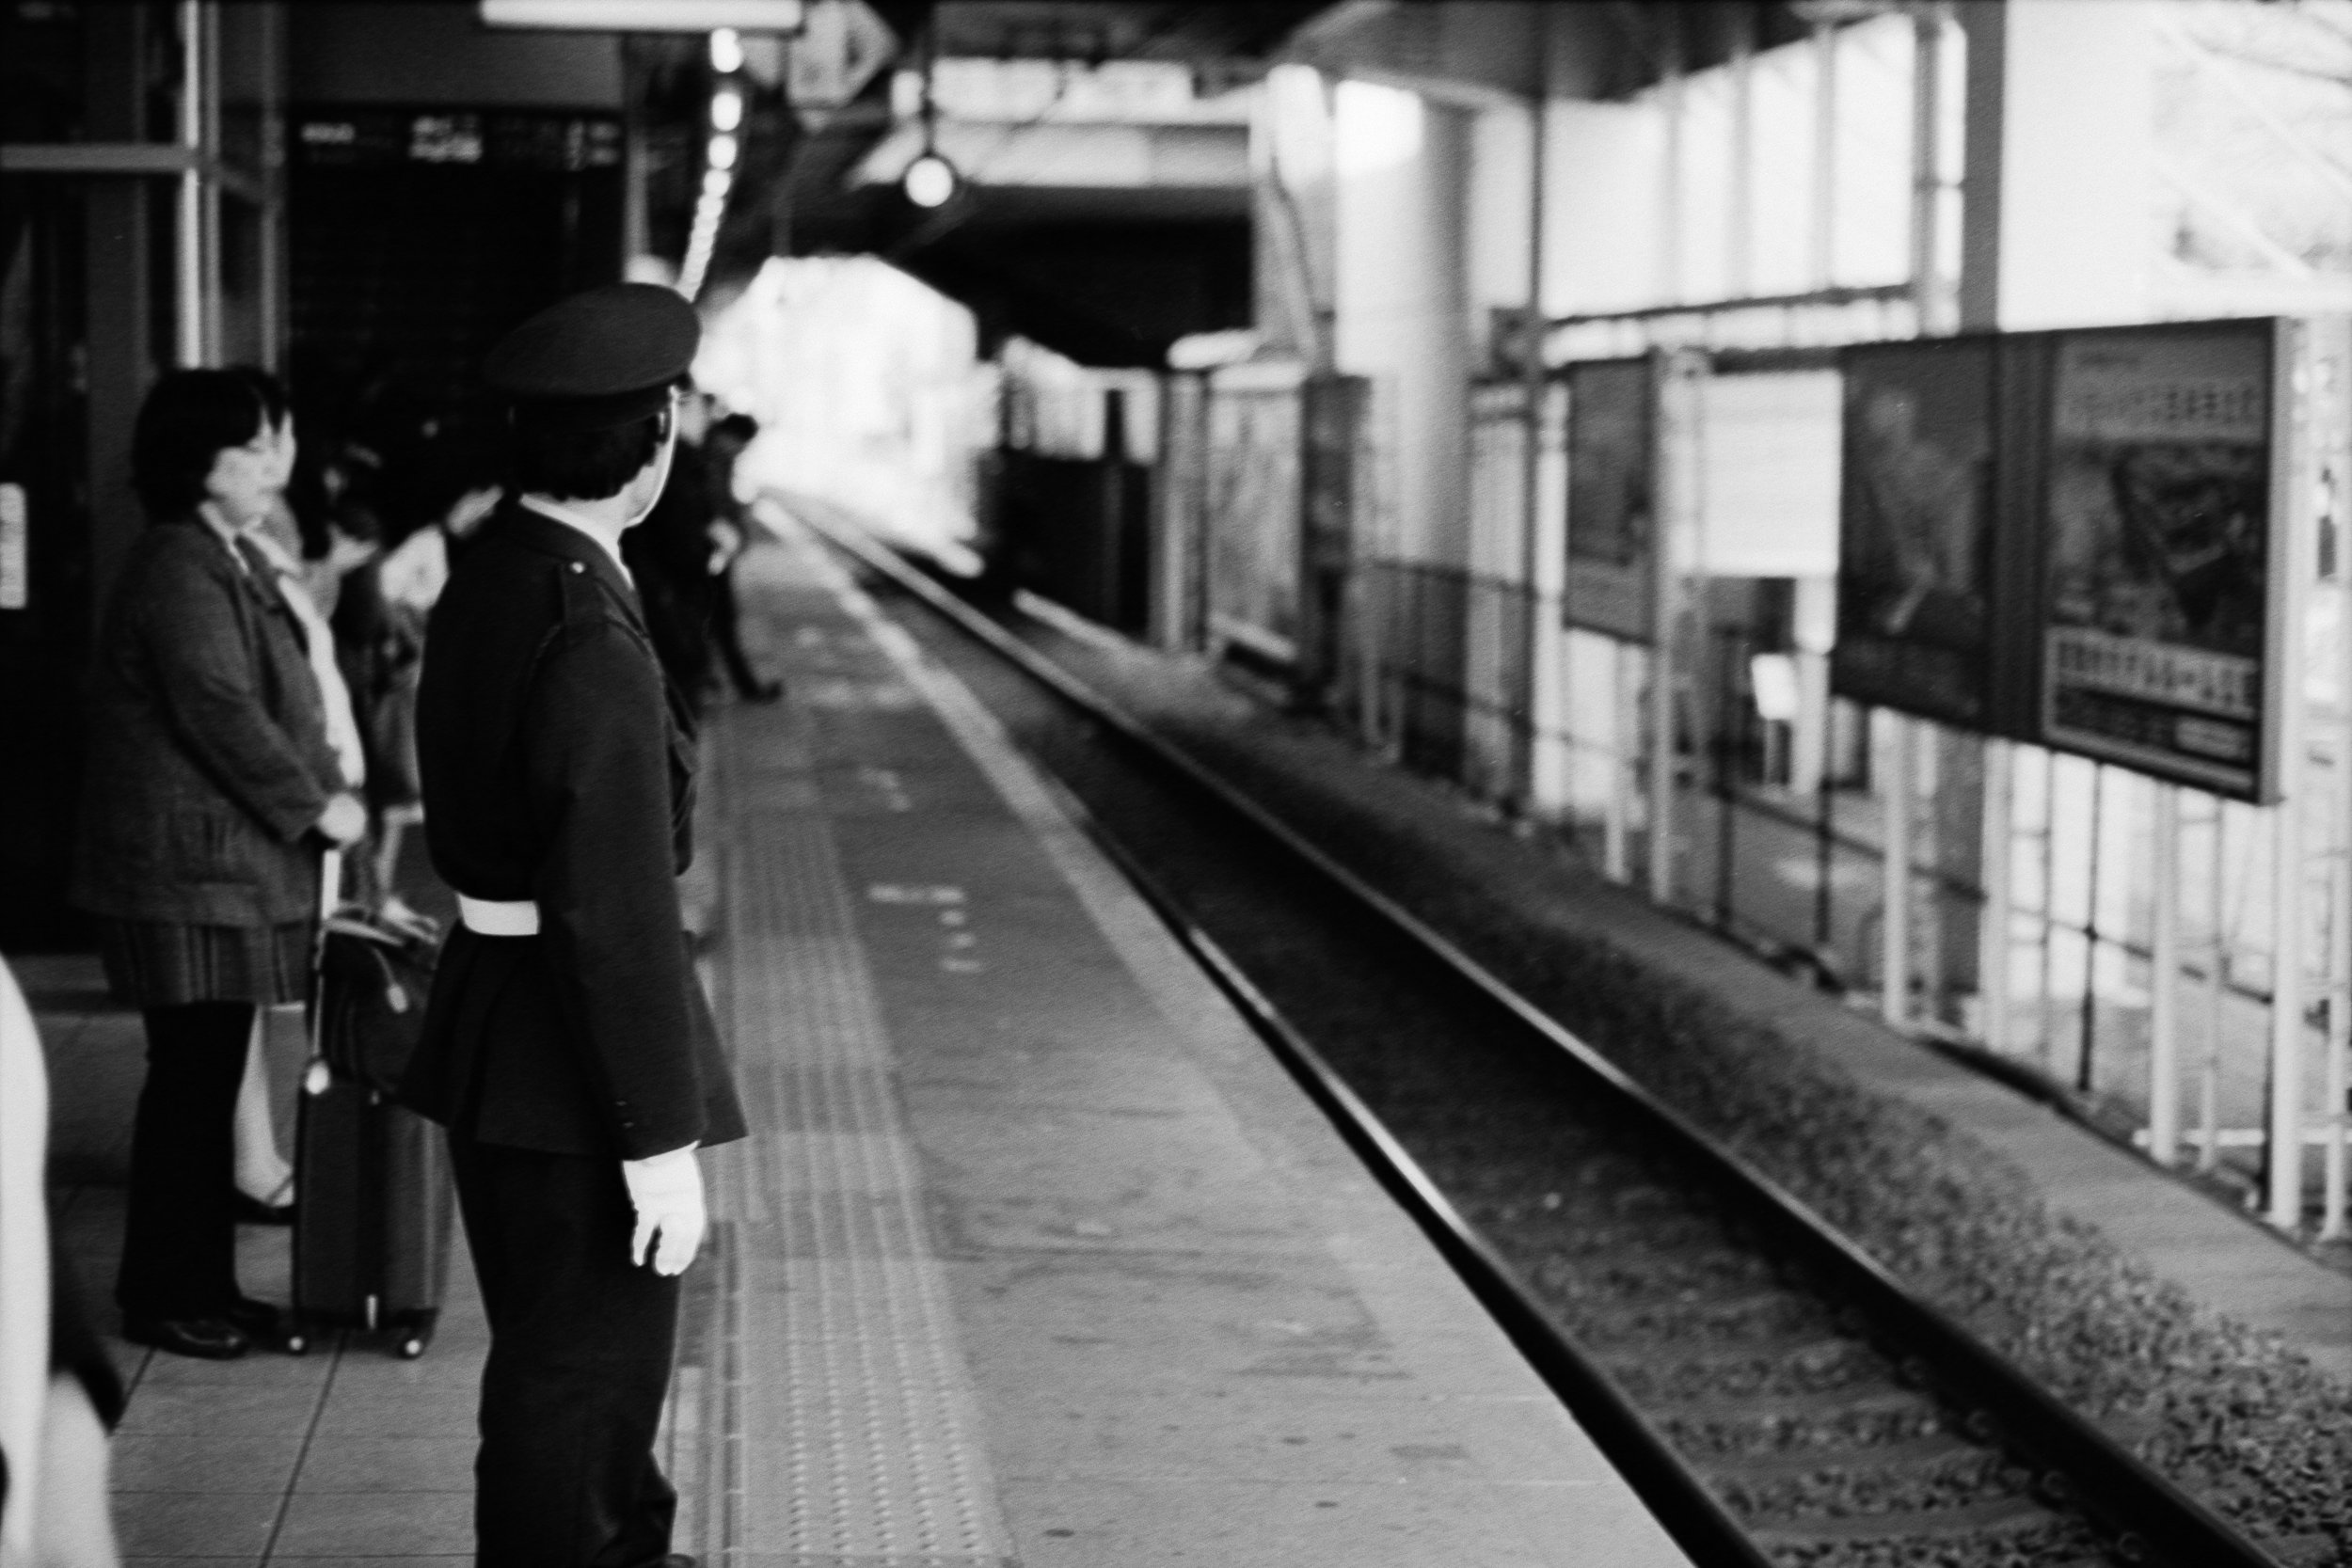
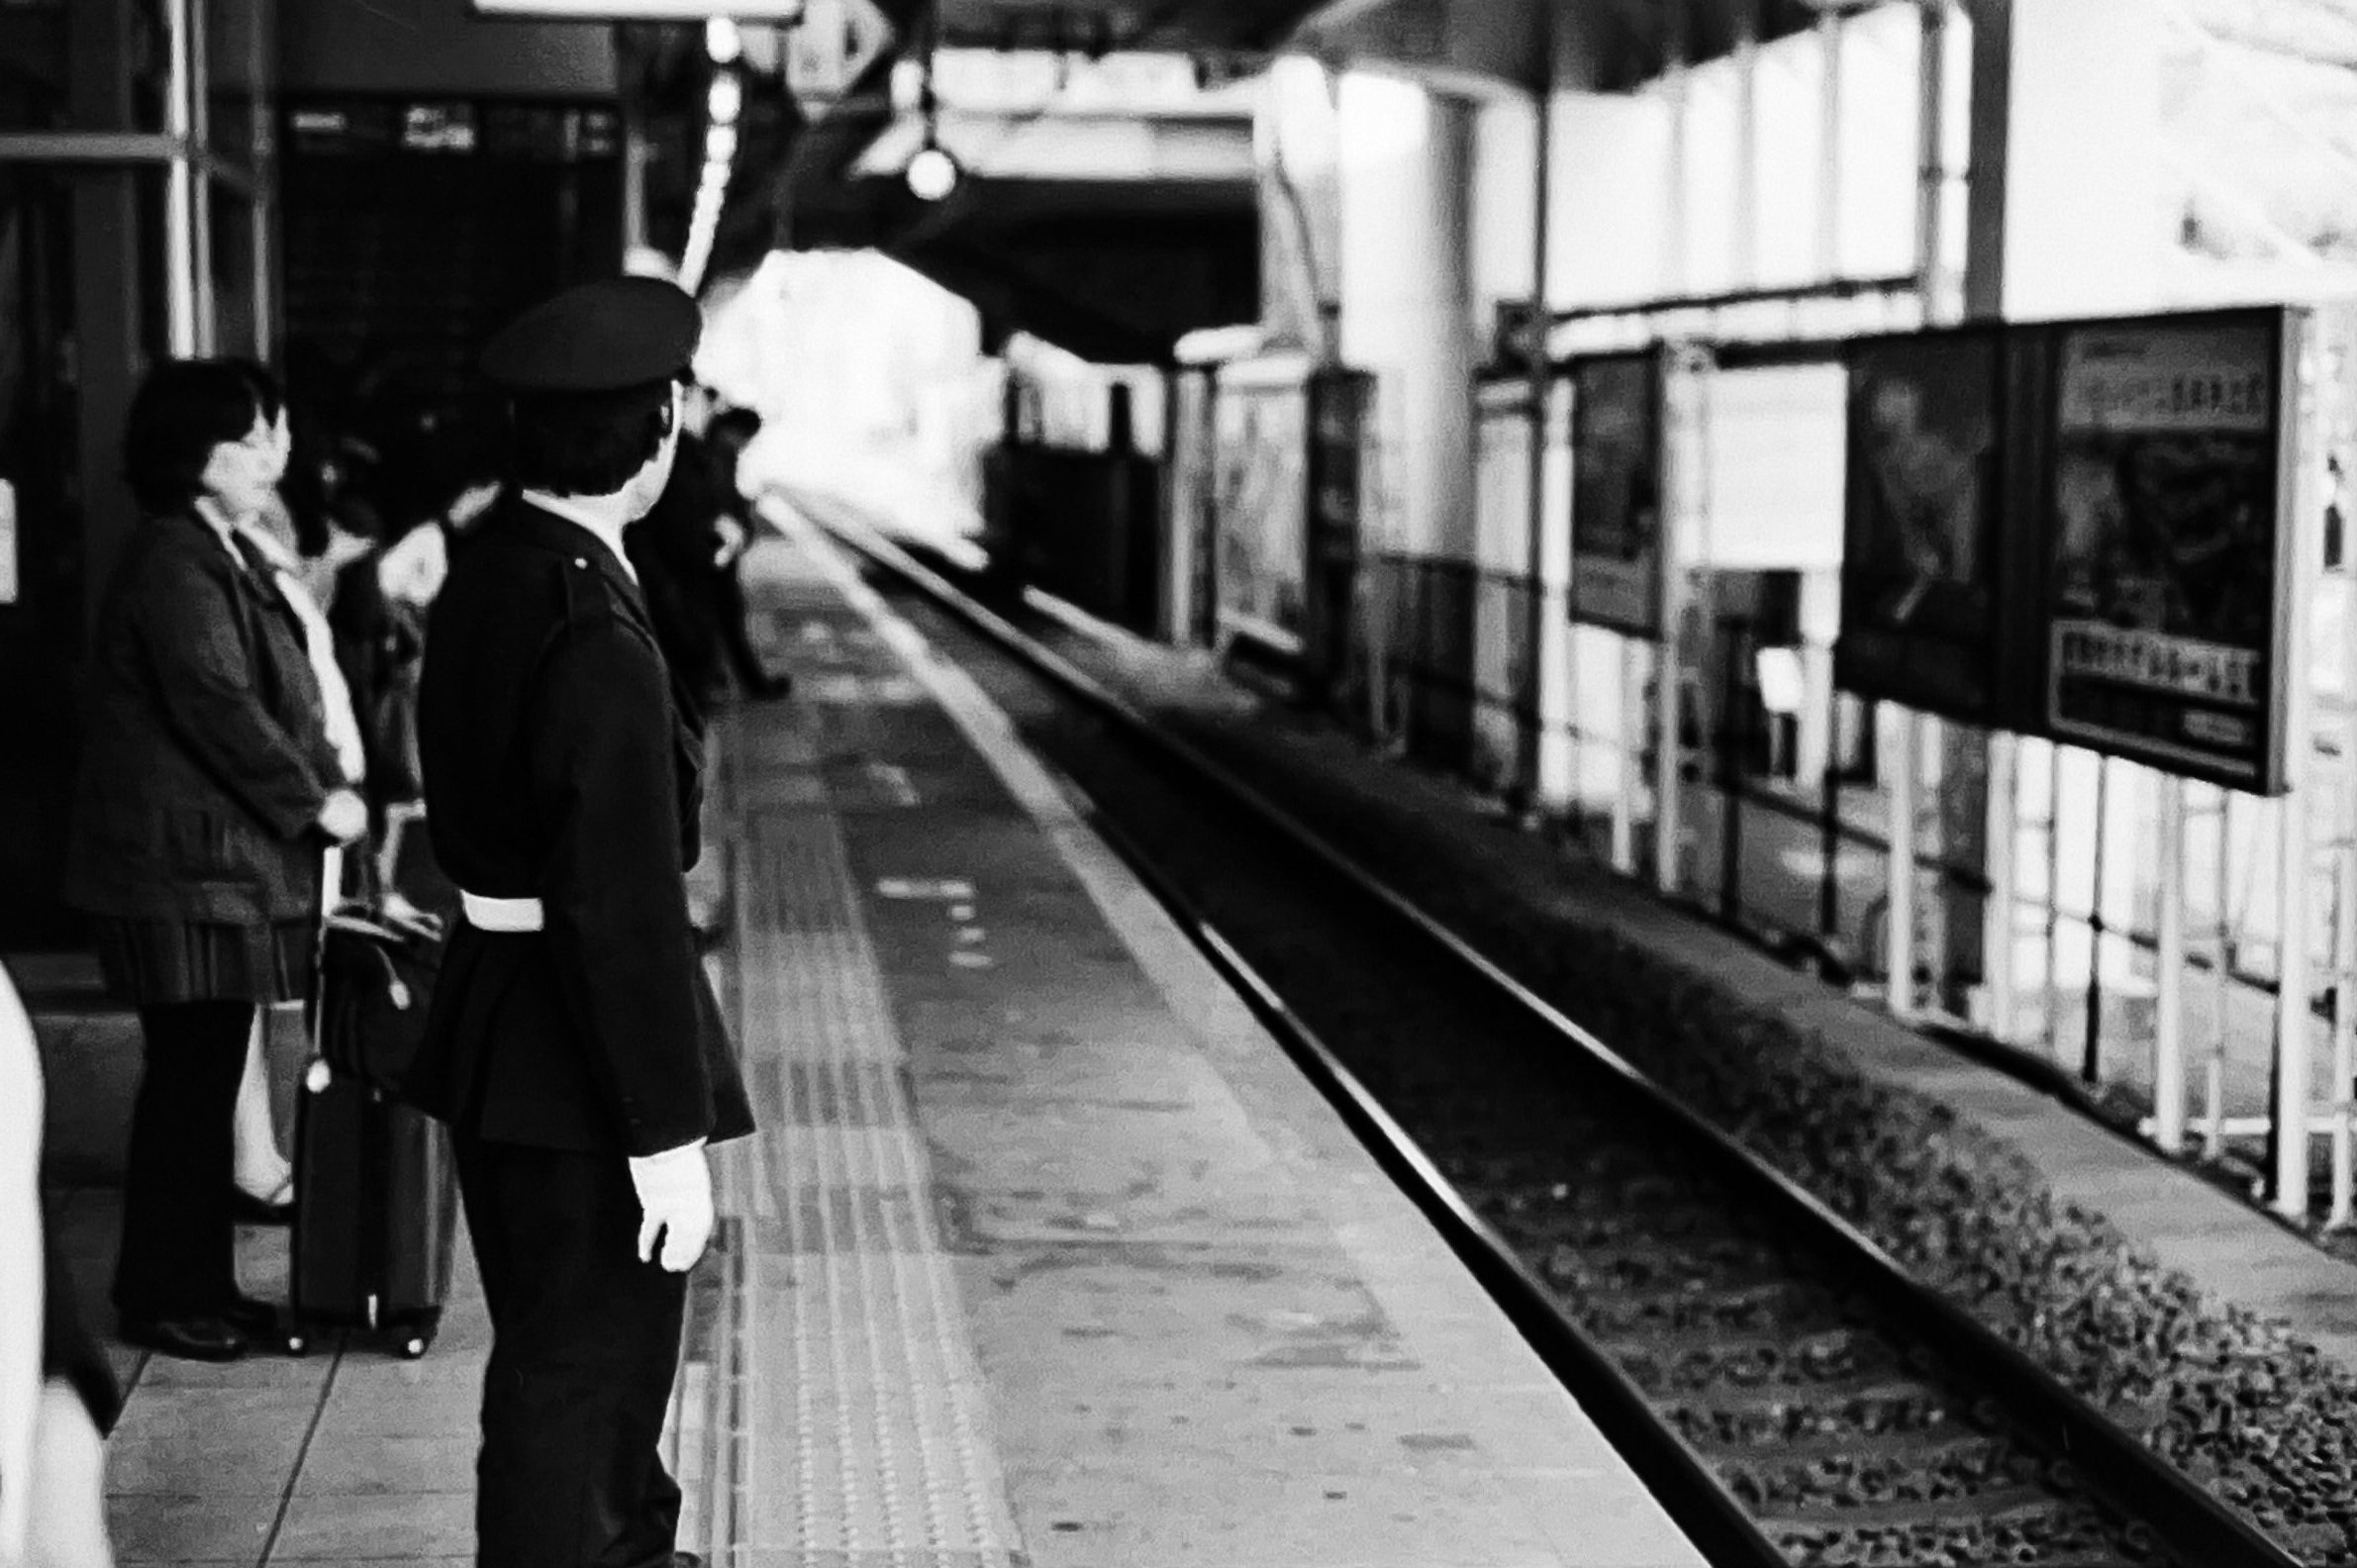
You might have stumbled on this post and our site because you have already seen some videos saying camera scanning is low resolution. Another thing I heard was you needed a full-frame camera with a dedicated macro lens to make anything useable, which has not been my experience. Below are three different scans of the same image, can you tell which is which? One is on a flatbed V600 edited in Lightroom Classic, a Camera Scanned negative converted using Negative Lab Pro, and an iPhone scanned negative using the free Lightroom mobile app.


In the past, I had worked exclusively using a v600 flatbed scanner and was always frustrated with the process which is part of the reason I stopped shooting color and decided to stay all analog in the darkroom with my work. The slow speed of the scan and the large amount of dust and hair that seems to always come with flatbeds left me wondering what else was possible. This is how I stumbled on camera scanning, and I am officially converted.
workflow
My guess is you are still reading this because you have seen plenty of other places say that camera scanning only works if you use thousands of dollars worth of gear, and this has not been my experience. As you can see from the images above, you could probably just scan using your phone and it would be good enough for most people who just post on social media. If you are looking to print upwards of 8x10 then you may want to go the DSLR route to get a little more resolution. I’m using an iPhone 12 mini, so maybe the newer iPhones could even get you a raw image instead of a compressed JPEG.
The setup is as follows:
Fuji Xt3, shooting in Raw (Only DSLR I own)
I shot in monochrome for B&W negatives and Provia STD color profiles for the color images.
55mm M42 lens with extension tubes (Lens I use on my SLR)
This is an acceptable workaround if you don’t have money for a macro lens. Focus is a bit more difficult but you can find these lenses very inexpensive. I use this exact lens to shoot the images so I found it a nice companion to use the same lens to scan.
Sprocket and Co Camera Scanning setup (Purchased)
This is a 3d printed setup that I purchased with a 120mm and 35mm scanning mask. I chose this setup because it was made by an actual person and the masks included the sprockets which I enjoy including from time to time.
Negative Lab Pro (Purchased)
This software streamlines the process and allows you to batch transfer your images in Lightroom Classic. This is not necessary if you are starting out, but it’s a great tool to speed up your process. The Iphone scan above was converted for free in Lightroom Mobile by inverting the histogram and creating a custom curve for contrast.
Sprocket and Co 35mm Negative Holder
Conclusion
One of the goals for TCC is to demystify film and its processes. In most situations we, as artists, are looking to remove roadblocks from our creativity and when I find a tool that does just that I have to share it with others. For my normal workflow, this is an incredibly easy way to back up and share my images with others. Now if I were to blow these images up to a billboard then I may want to do something else, but for the normal film shooter that already has a DSLR sitting around, this is a no brainer. Isn’t the goal to make your process more efficient so you can create more? Well that is my process and for once in my film journey, I didn’t hate scanning my film. To be honest, I actually enjoyed the process. I was able to see what my images look like in my head without the stress of always cleaning everything and still having a rogue dog hair in my scan.
Don’t let others tell you, you can’t do it because its not “high quality” enough, or you don’t have a good enough camera. You have exactly the right equipment for where you currently are. Film is a feeling and camera scanning made me feel like I can shoot more film and share it more efficiently, which is a huge pro for me.
-Jerry-
You can purchase the same camera scanning setup that I have at this link. Add an additional 120mm or slide film scanning mask for free using the promo code thecelluloidcollective.
Below are samples using the DSLR camera scanning setup listed above. Images include color negative, black and white, and slide film. I have included some images with borders for reference. All images were taken by Jerry J White III.
Still wondering which image was scanned on the Iphone? It’s the one in the middle.


